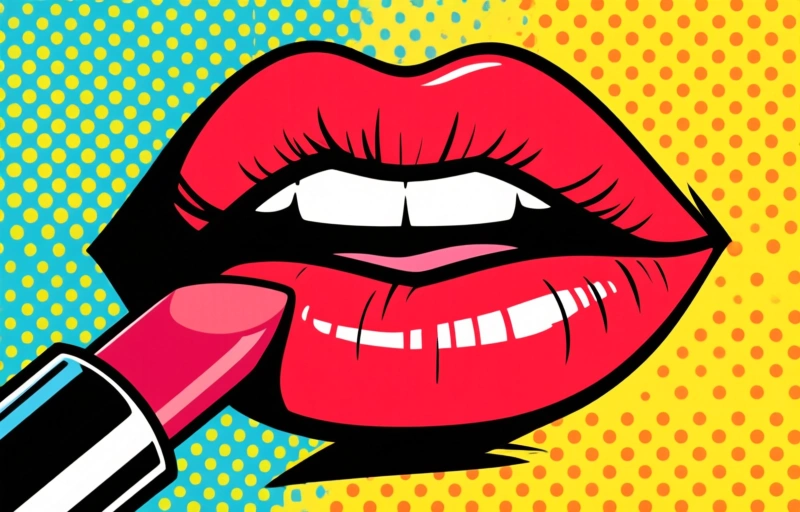
Lip Masterclass Secrets You Need to Know
Dr. Anya Sharma ·
Listen to this article~4 min

I attended a lip masterclass that changed my approach to lip care. Learn the top tips for prep, product selection, lining, and layering to achieve long-lasting, flawless lips.
I recently attended a lip masterclass that completely changed how I think about lip care and makeup. As a professional in the aesthetics industry, I've seen plenty of trends come and go, but this class delivered real, practical techniques that actually work. The instructor broke down everything from prep to product selection, and I'm sharing the best tips here so you can level up your lip game.
### The Prep Makes All the Difference
Before you even think about lipstick, your lips need proper prep. The masterclass emphasized that exfoliation is non-negotiable. Use a gentle sugar scrub or a soft toothbrush to remove dead skin, but don't overdo it. Once a week is plenty. After exfoliating, apply a hydrating lip mask or balm and let it sink in for at least five minutes. This creates a smooth canvas that helps color glide on evenly.
One trick that surprised me: lightly pat your lips with a damp cotton pad after exfoliating. It removes any leftover grit without stripping moisture. Then seal everything with a thin layer of balm. Wait a minute before moving to color.
### Choosing the Right Products for Your Clients
Not all lip products are created equal, and the masterclass highlighted how to match formulas to different needs. Here's a quick breakdown:
- **Matte liquid lipsticks**: Great for long wear, but can be drying. Always pair with a hydrating primer.
- **Glosses**: Perfect for adding volume but can bleed. Use a lip liner first.
- **Tinted balms**: Ideal for everyday moisture with a hint of color. Best for clients with dry lips.
- **Lip stains**: Long-lasting and lightweight. Perfect for a natural look that stays put through meals.
The instructor recommended testing products on the inner arm rather than the hand because the skin there is closer to lip texture. Smart.
### The Art of Lining and Filling
Lip liner isn't just for outlining. The masterclass showed how to use it to correct asymmetry and create the illusion of fuller lips. Start at the cupid's bow and work outward, using short, feathery strokes. Then fill in the entire lip with the liner before applying lipstick. This creates a base that helps color last longer and prevents feathering.
"Always match your liner to your lipstick, not your natural lip color," the instructor said. "That's the trick to a seamless look."
For a subtle plumping effect, apply a tiny bit of highlighter to the center of the bottom lip and the cupid's bow. It catches light and makes lips appear fuller without any injections.
### Layering for Longevity
One of the biggest takeaways was the layering technique. After applying your base color, blot with a tissue, then dust a translucent powder over a thin tissue held against the lips. This sets the color without making it cakey. Then apply a second layer of lipstick. The result? Color that lasts through coffee, lunch, and meetings.
For gloss lovers, apply gloss only to the center of the lips after layering. This gives a fresh, plump look without the sticky feel.
### Common Mistakes to Avoid
The masterclass also covered what not to do. Here are the top three mistakes:
- Skipping lip primer: It's not just for eyes. A primer helps color adhere and prevents bleeding.
- Over-lining too far: More than 1-2 millimeters beyond your natural line looks obvious and messy.
- Using dry, old products: Lip products expire. If your lipstick smells off or has changed texture, toss it.
### Final Thoughts
This masterclass reinforced that great lip looks start with great care. Whether you're working with clients or perfecting your own routine, focus on prep, choose the right products, and use layering for staying power. These tips are simple but transformative. Try them out and see the difference for yourself.